I’ve just started taking an armature design class at the Oregon College of Art and Craft. One of the class requirements was that we bring in a character design to work with. Here’s the show’n’tell for what I’ve got so far.
CONCEPT ART
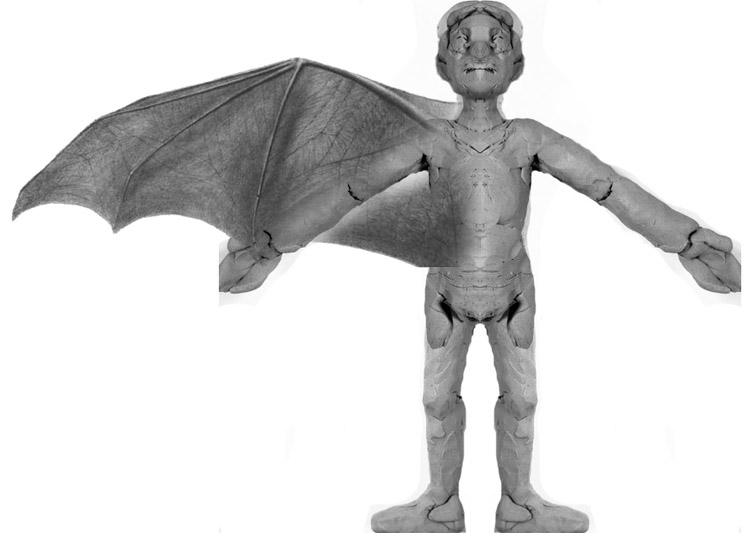
So, I’m interested in doing something with this character that has both a swan wing and a bat wing.
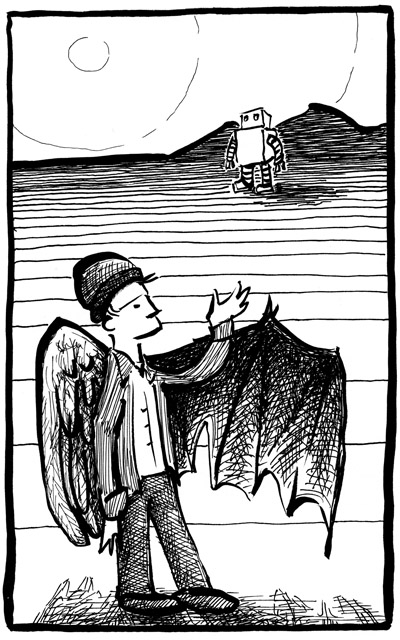
I prefer an intuitive/organic creative process, where I slowly discover imagery over time… Letting it come to me, rather than going with what’s literal, logical, predictable. What do I know about this character so far? That he can be split in two and confront himself — each character with just one wing.
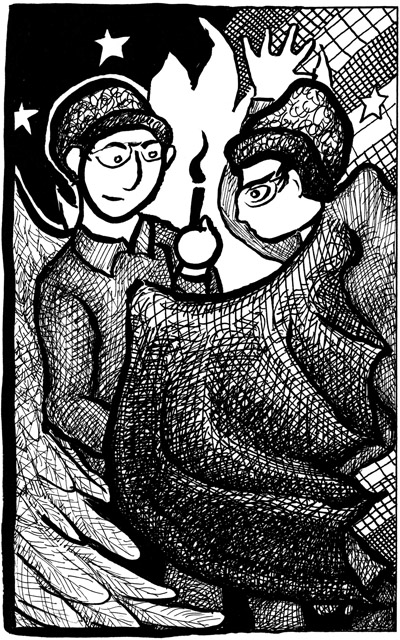
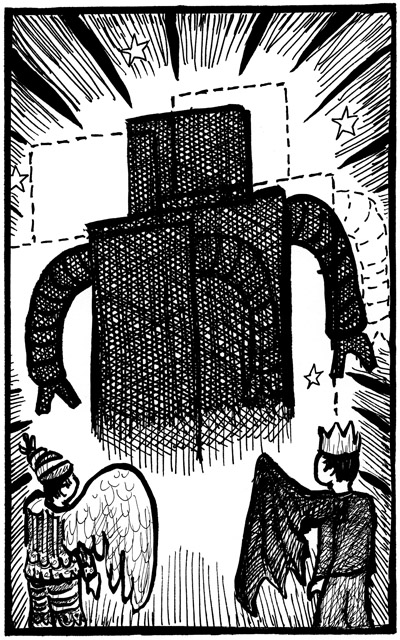
Also, while the almost-mirror-image selves seem to have some inner conflicts to work through, they might sometimes cooperate with one another when a noble quest demands it of them. Such as when they come face to face with the Black Robot. …Which may perhaps require some additional costume changes.
CLAY SKETCH
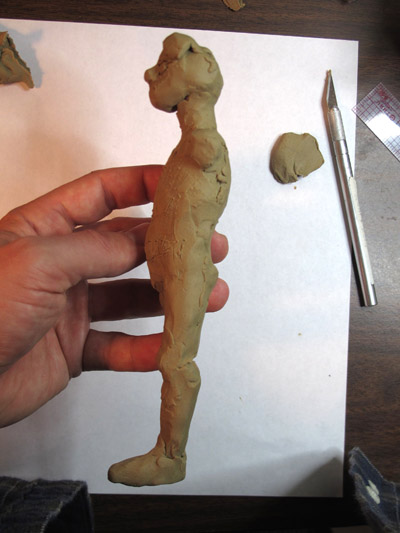
At this point, most folks would refine their character design by putting pencil to paper. Not my cup of tea. I have a strong urge at this point to explore the character in three dimensions. So I whip out some oil-based clay and start roughing out volumes.

Personal preference: I’m going to want to keep improvising and making discoveries during the fabrication process, so this isn’t a fancy maquette — I didn’t even bother making the second arm and leg. I just want a sense of proportions and to find out how the thing feels in my hands. Honestly, I think a lot of stopmoes could benefit from clay sketching… It’s easy to draw tiny Tim Burton -style ankles with a pencil — but get some clay under your fingernails, and it quickly becomes apparent how tricky it’ll be to pull off that idea in 3D.
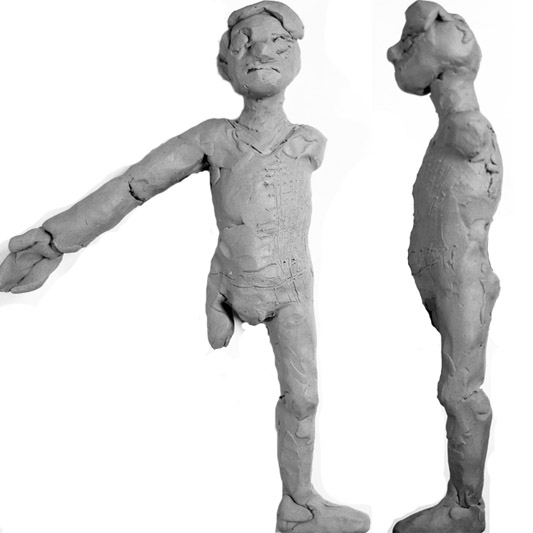
When I took photos of the clay sketch, I kept on with the “quick&dirty” approach, not bothering to set up good lighting or even hold the sculpt up straight. That’s what PhotoShop’s for. With a bit of resizing and rotation, I put the front and side views next to each other. I want the final puppet to be 9″ tall (medium-sized for a pup), so I cropped the image and resized it to a height of 648 pixels (72ppi * 9″).
Photoshop makes mirroring the two sides of the puppet a cinch. I also snagged an image of a bat wing from Google and roughed that in.
REFINING THE DESIGN
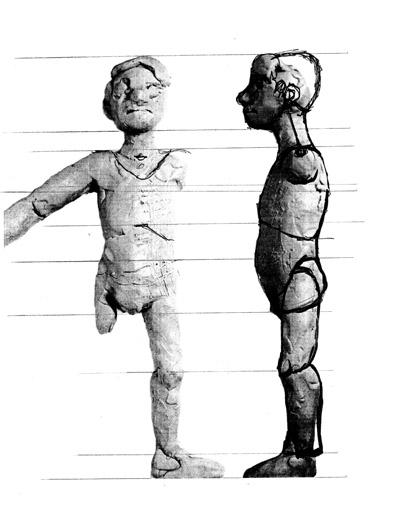
Now that I’ve got a pretty good idea of what the puppet will look like, I start looking more carefully at the underlying architecture… I photocopied my digital artwork and began marking it up with pencils and pens. I’m thinking ahead to when I’ll be taking measurements.
It would have been difficult to identify the top of the hip from the side-view alone. But with the front and side images next to each other, I can draw horizontal lines that identify the placement of important features. Later on, I’ll probably use a pair of calipers to transfer measurements directly from this image to the final sculpt.
Having the two drawings side-by-side also helped me recognize that there needs to be more to the back of the head. I sketched in a better silhouette there, and also started thinking more about how clothes should hang. One thing I’m particularly pleased with here is the curvature of the spine. Stopmoes often give their characters a spine that’s ram-rod vertical, rather than S-shaped. Yep, things are going in the right direction — but honestly, it’s all looking a little bland to me at this point… I’m hoping and expecting that by the end of this process I’ll be able to make some interesting mistakes that lead to a more idiosyncratic caricature.
With the symetrical image that I threw together in PhotoShop, I start thinking about where the joints will be. In the image below, I was thinking in terms of ball&socket design. However, it turns out that the first project we’re doing in this class will be a wire armature. With that in mind, I’ll be going back and revisiting where I want to place the flexible bits.

I’m a little bit conflicted. I feel I should follow the designs being provided to us by the teacher, in deference to her authority… But I’m advanced enough to recognize how her default design will force some unnecessary limitations. Specifically, she has the puppet arms coming straight out horizontally from the torso block. This will prevent the puppet from being able to shrug its shoulders. There’s an alternative design, where the arm wires first come up from the torso block, then loop down. It’s a very simple mod. But I really ought to stay with the flock.
Oh, I suppose I know the solution… We’re not going to be covering the puppet with faux-flesh in this class. I can fabricate *both* her design and the one that I have in mind. Based on my skill level, it’s not a lot of extra time — and I wouldn’t mind having different armatures hanging around to use as examples when I talk to folks about principles of armature design. Because, y’know, that’s something I occasionally do… And I really do love a good, hands-on example.